Basic Overview of the Tradly Editor
The Tradly Editor provides a comprehensive interface for customizing your marketplace site. Below is an overview of the various options available in the editor.
General Settings
In the General settings, you can update business-related information such as:
- Web Favicon: Upload a favicon for your site. Recommended file size is 100KB.
- Web Logo: Upload your business logo.
- Terms URL: Enter the URL for your site’s terms and conditions.
- Privacy URL: Enter the URL for your site’s privacy policy.
- Business Name: Set the name of your business.
Global Styling
The Global Styling section in the Tradly Editor allows you to customize the overall appearance of your site. Below are the specific settings available:
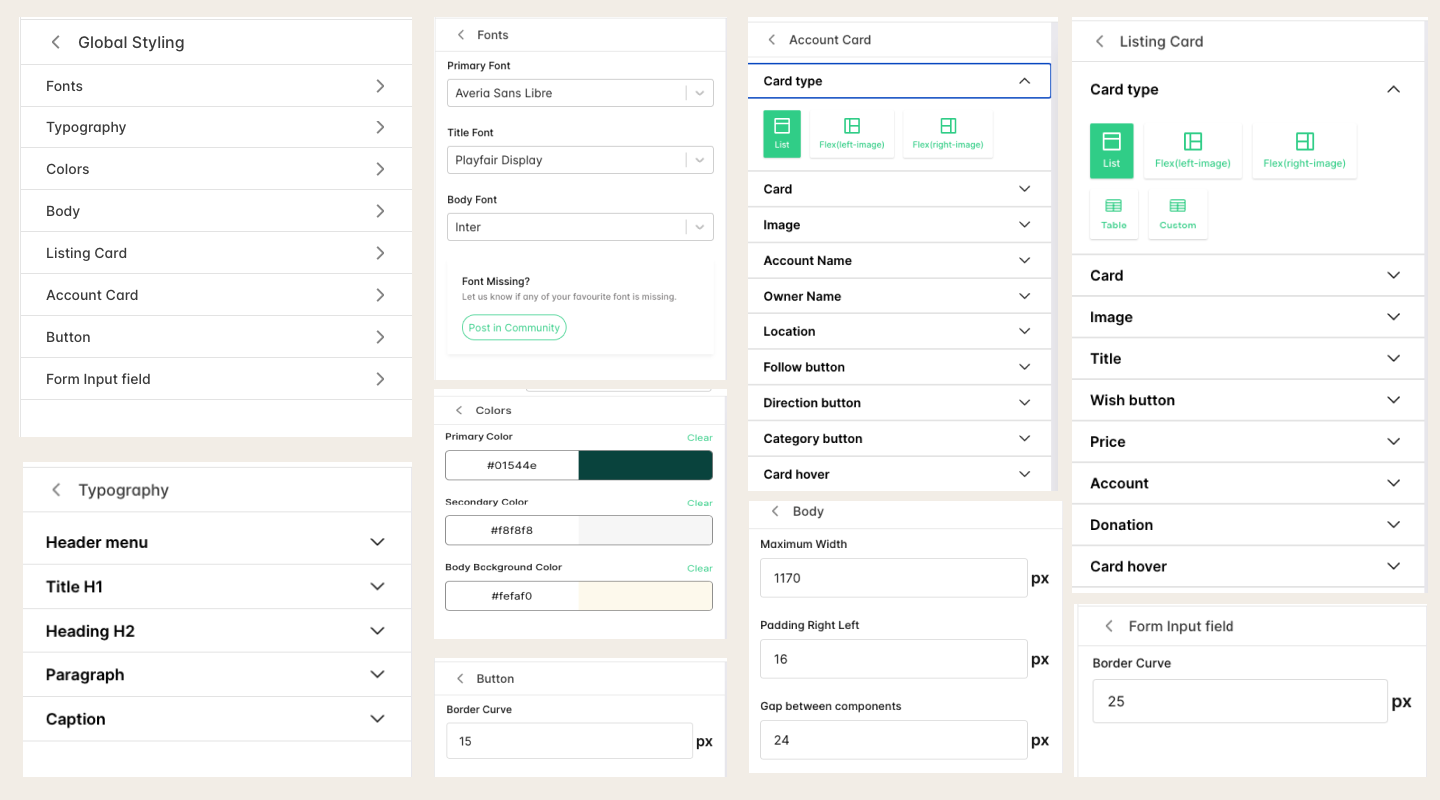
Fonts: Customize the fonts used throughout your site.
- Primary Font: Select the main font for your site.
- Title Font: Choose the font for titles.
- Body Font: Select the font for the body text.
- If your favorite font is missing, you can request it to be added by posting in the community.
Typography: Adjust the typography settings for various text elements.
- Header Menu: Customize the text size, color, font weight, and line height for the header menu.
- Title H1: Set the typography for the main titles.
- Heading H2: Adjust the typography for secondary headings.
- Paragraph: Customize the typography for paragraph text.
- Caption: Set the typography for captions.
Colors: Set the color scheme for your site.
- Primary Color: Choose the main color for your site.
- Secondary Color: Select a secondary color.
- Body Background Color: Set the background color for the body of your site.
Body: Configure the body layout settings.
- Maximum Width: Set the maximum width for the content area.
- Padding Right/Left: Adjust the padding on the right and left sides.
- Gap Between Components: Set the gap between different components on your site.
Listing Card: Customize the appearance of listing cards.
- Card Type: Choose the type of listing card (List, Flex with left/right image, Table, Custom).
- Card: Adjust settings related to the overall card design.
- Image: Customize the appearance of images within listing cards.
- Title: Set the typography and styling for titles on listing cards.
- Wish Button: Customize the appearance of the wish button.
- Price: Adjust the price display settings.
- Account: Configure the account-related settings.
- Donation: Customize the donation button (if applicable).
- Card Hover: Set the styling for card hover effects.
Account Card: Adjust the settings for account cards.
- Card Type: Choose the type of account card.
- Card: Customize the overall card design.
- Image: Adjust the image settings within account cards.
- Account Name: Set the typography and styling for account names.
- Owner Name: Customize the owner name display.
- Location: Adjust the location display settings.
- Follow Button: Set the appearance of the follow button.
- Direction Button: Customize the direction button.
- Category Button: Adjust the category button settings.
- Card Hover: Set the styling for card hover effects.
Button: Customize the buttons on your site.
- Border Curve: Adjust the border radius for buttons to change their shape.
Form Input Field: Set the styling for form input fields.
- Border Curve: Adjust the border radius for input fields to change their shape.
Header, Profile Menu, and Footer
Design the header, profile menu, and footer of your site:
- Header: Customize the layout and style of the header, including navigation links and menus.
- Profile Menu: Customize the layout and options for dynamic profile menu.
- Footer: Customize the layout and content of the footer.
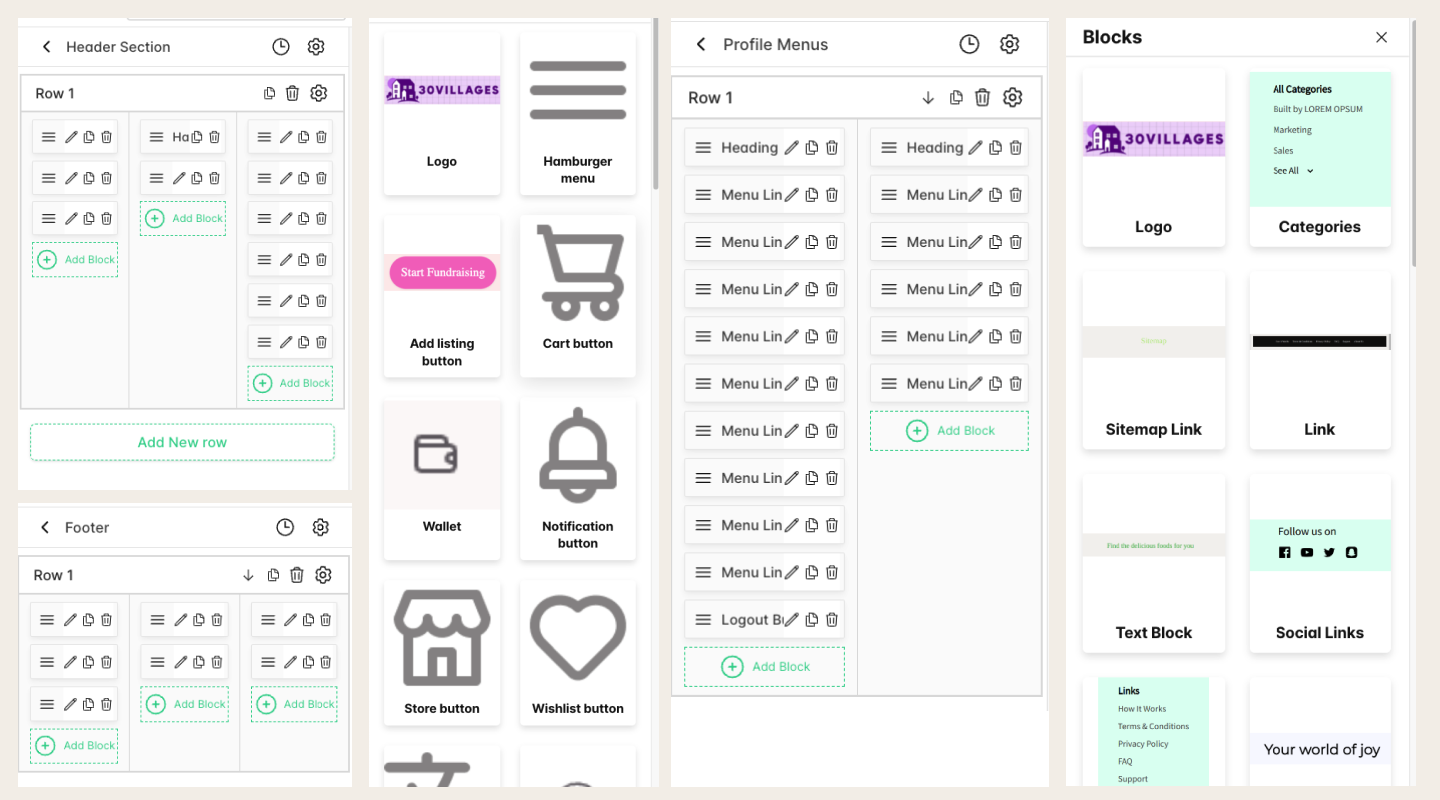
Listings, Blogs Layout, and Pages Layout
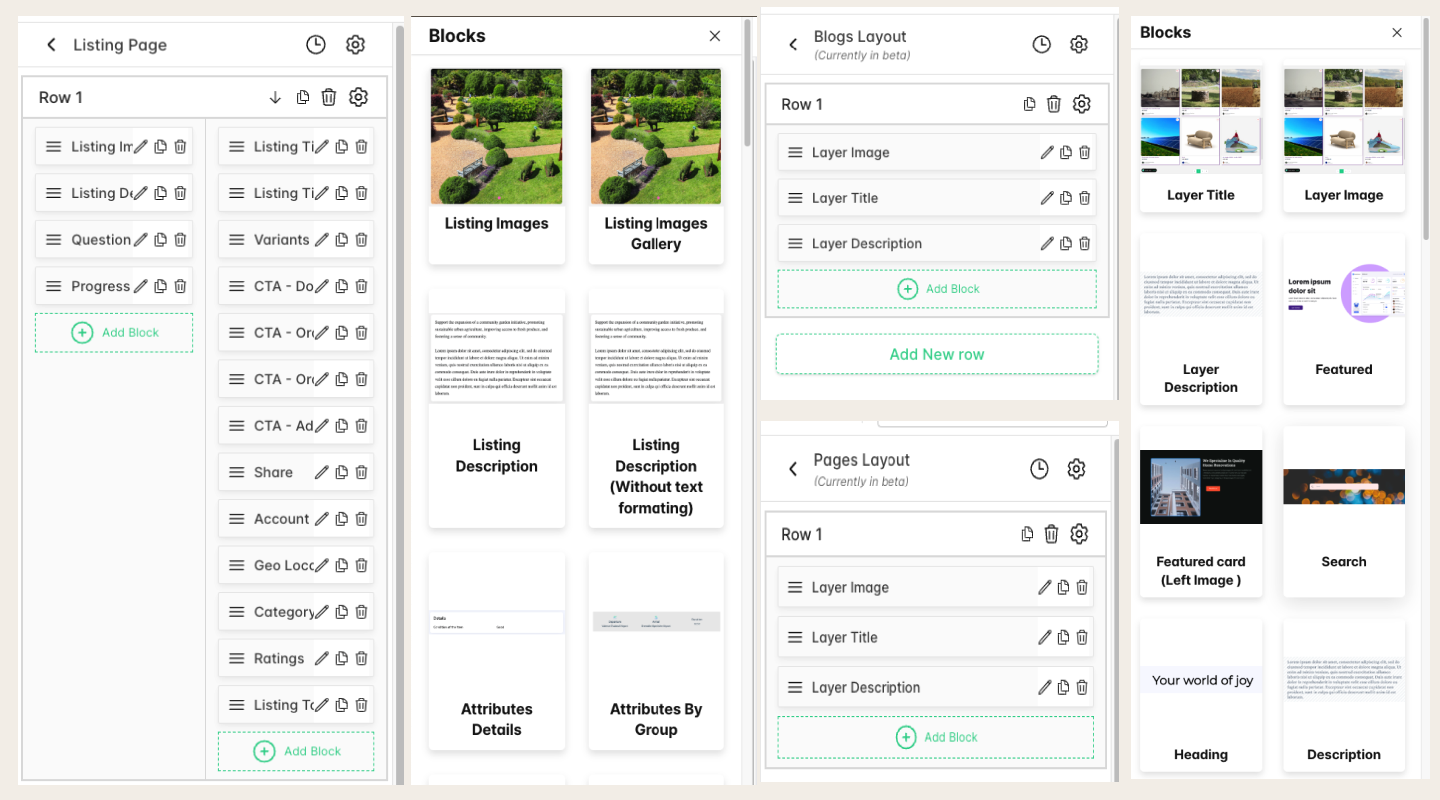
Manage the details and layout for listings, blogs, and various pages:
- Listings: Customize the appearance and content of listing pages.
- Blogs Layout: Customize how your blog posts are displayed.
- Pages Layout: Adjust the appearance and content of different pages.
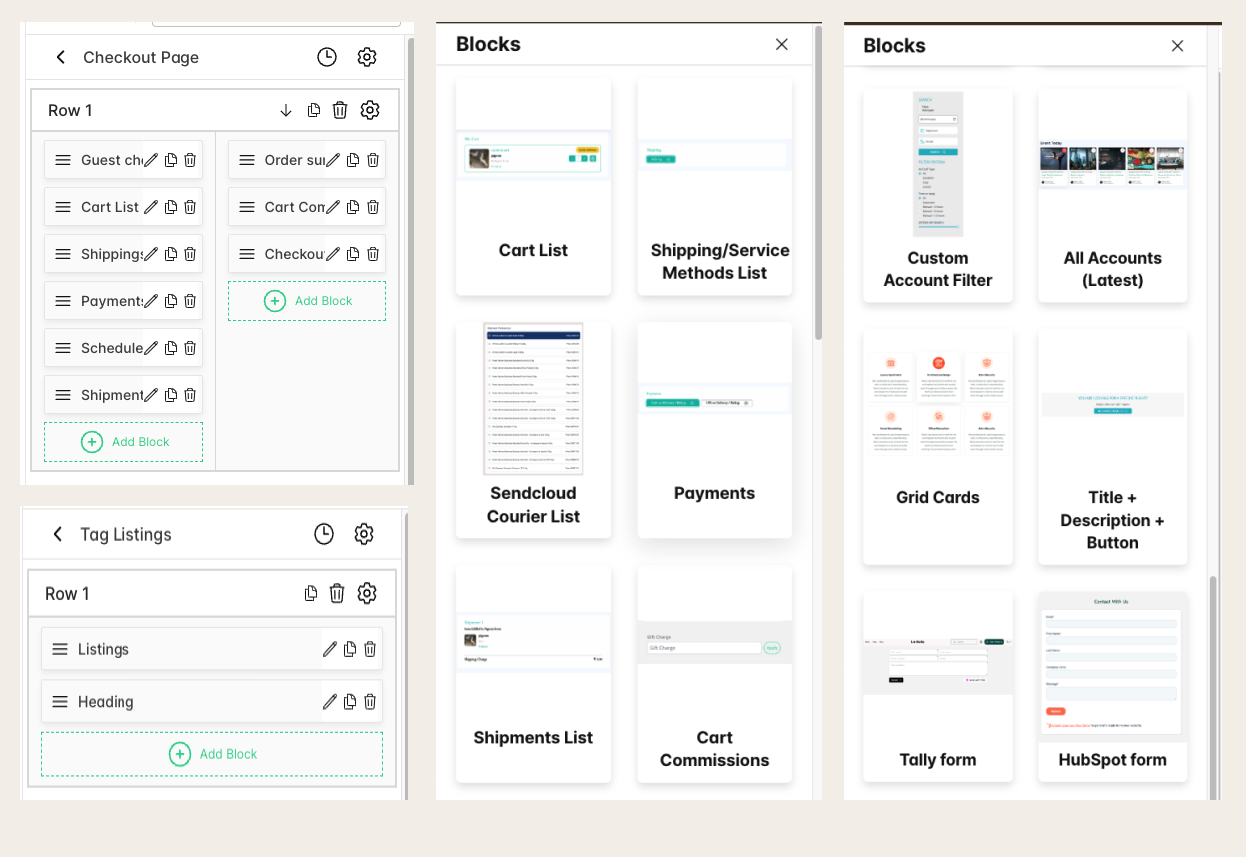
Tag Listings and Checkout
Set up the tag listings and checkout page:
- Tag Listings: Customize the layout and content of tag listings.
- Checkout: Customize the layout and options for the checkout process.
Add Listing and Onboarding
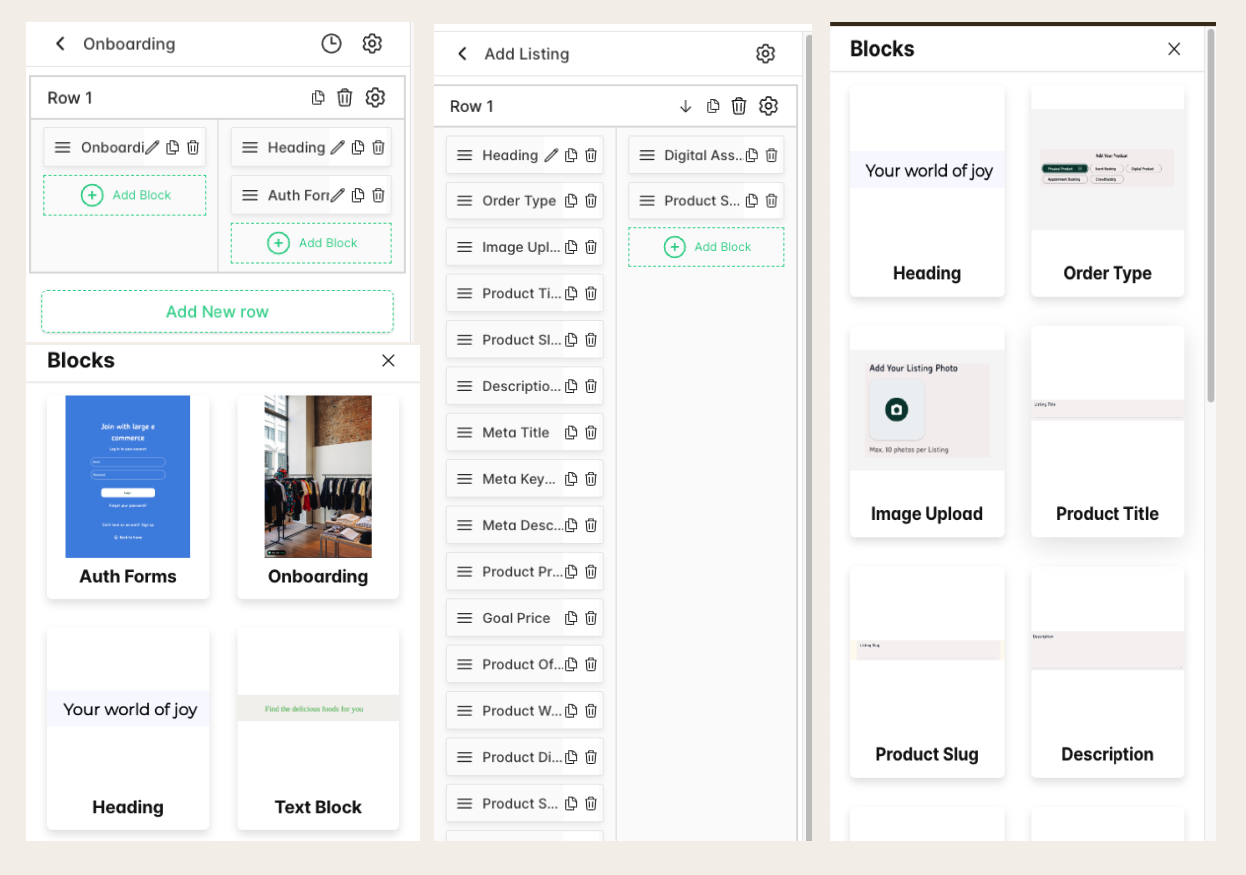
Manage the Add Listing and onboarding pages:
- Add Listing: Customize how users can add new listings.
- Onboarding: Configure authentication pages such as signup, sign-in, and forgot password.
Wallet and Account Details
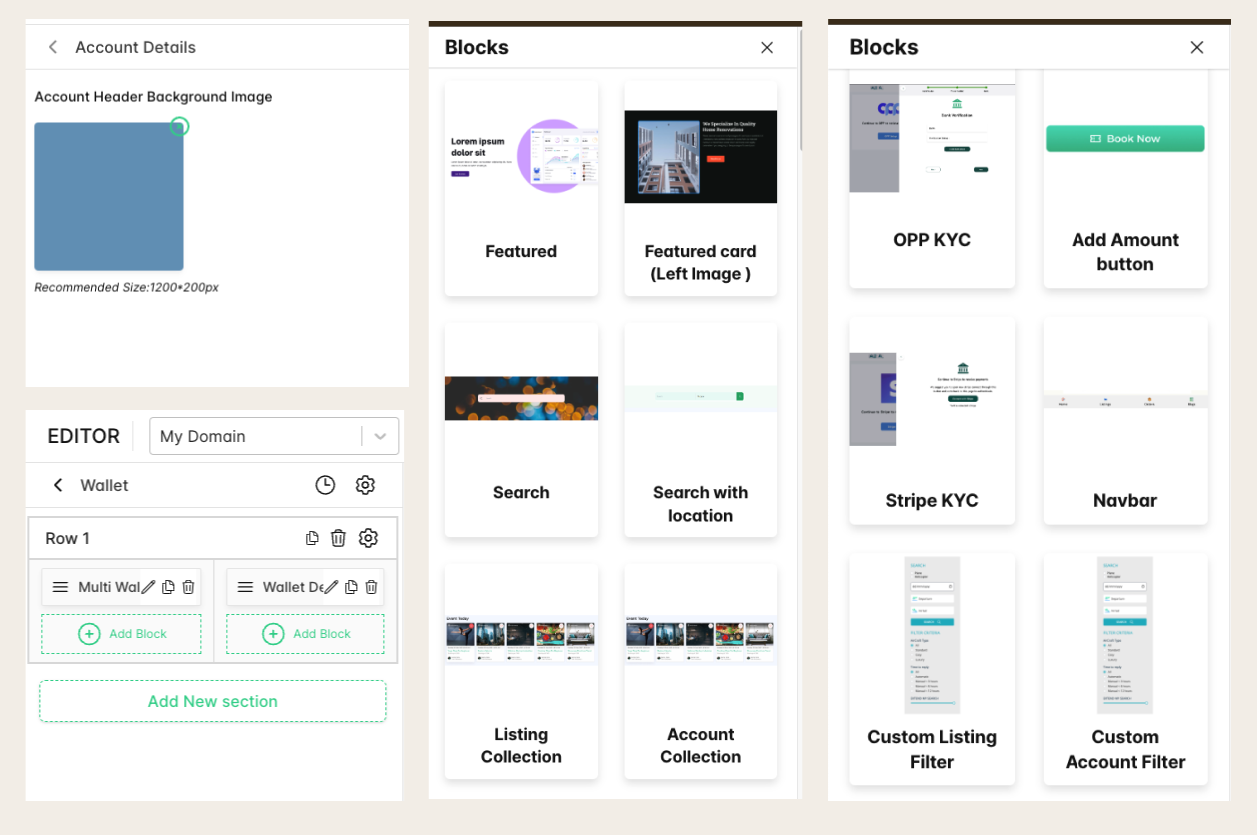
Set up the Mango Pay wallet page and update account details:
- Wallet: Customize the wallet interface (optional for first-time setup).
- Account Details: Customize the background for account details.
SEO Settings
Set up SEO settings for various pages:
- Meta Titles and Descriptions: Customize the meta titles and descriptions for your pages.
Creating Dynamic Pages
At the bottom of the editor, there is an option to create more dynamic pages as needed:
- Dynamic Pages: Create new pages and replace default pages such as the home page and listings page.
Site Selection
At the top of the editor, beside the “Editor” text, there is a dropdown that allows you to switch between different sites:
- Site Selection: If you have multiple sites, select the site where you want to set up new templates.
By following these options, you can fully customize your marketplace site using the Tradly Editor.